How to upload an Easy BITX sketch by VU3GAO to the Raduino?
Uploading the Easy Bitx firmware by VU3GAO to a Raduino (Arduino Nano-based) board involves using the Arduino IDE to compile and flash the code via a USB cable. The Easy Bitx is a simplified transceiver utilizing an Si5351 VFO and a 10MHz IF.
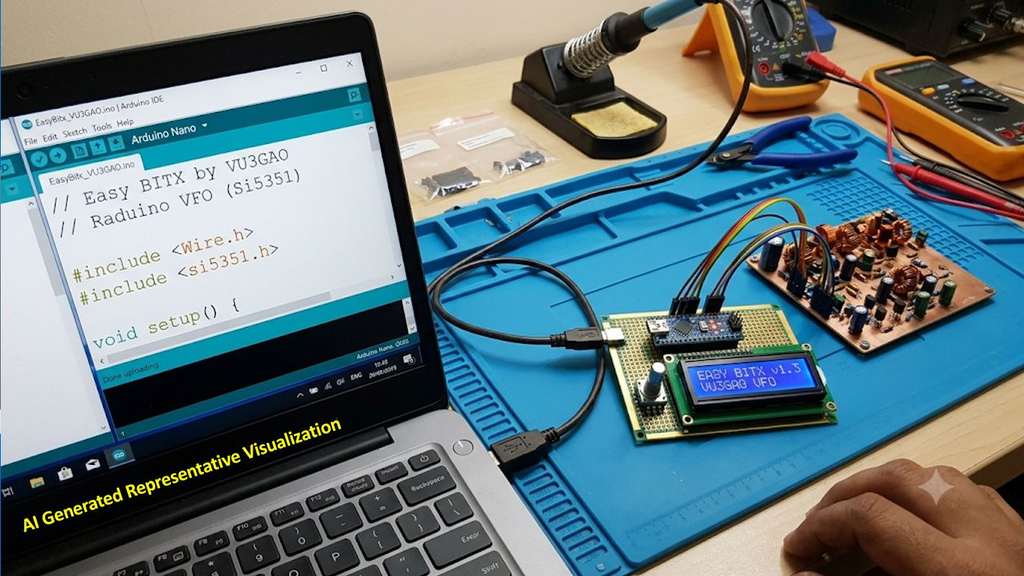
Prerequisites
- Arduino IDE: Installed on your computer.
- USB Cable: Mini-B USB cable to connect the Raduino board.
- Firmware: Download the VU3GAO Easy Bitx Firmware (typically file).
- Libraries: Ensure the and libraries are installed in Arduino IDE.
Steps to Upload the Sketch
- Connect the Raduino: Connect the Raduino board (Arduino Nano) to your PC using the Mini-B USB cable. The board will receive power from the USB port.
- Open the Sketch: Launch Arduino IDE, go to , and select the downloaded file (e.g., or ).
- Configure Board & Port:
- Go to Tools > Board and select “Arduino Nano”.
- Go to Tools > Processor and select “ATmega328P” (or “ATmega328P (Old Bootloader)” if uploading fails).
- Go to Tools > Port and select the COM port corresponding to your Nano.
- Verify/Compile: Click the Verify (check mark) button in the top left. Wait for “Done compiling” to ensure there are no errors.
- Upload: Click the Upload (arrow pointing right) button. Wait until the IDE reports “Upload complete”.
Calibrating the Firmware (BFO Setup)
After uploading, you must set the Beat Frequency Oscillator (BFO) for your crystal filter:
- Connect the Raduino, run the IDE, and open the Serial Monitor (set to 9600 baud).
- Power on the Raduino, and press and hold the tuning knob for 2 seconds to enter BFO Setup mode.
- Tune the BFO to align with your filter passband (typically 300Hz-3000Hz), using an audio spectrum analyzer if needed.
- Once the frequency is found, update the BFO value in the code if required and re-upload, or save the settings to the EEProm via the BFO aid.
Key Tips
- Power Supply: While the USB powers the board, ensure the main Easy Bitx board is powered separately during operations, though it can run off USB for testing.
- BFO Value: The firmware allows for setting specific 10MHz IF BFO values.
- Version: Ensure you are using the correct version of the sketch (e.g., v1.3 or v1.4 with Smeter).