Homebrewing My QSL Card!
Homebrewing My QSL Card!
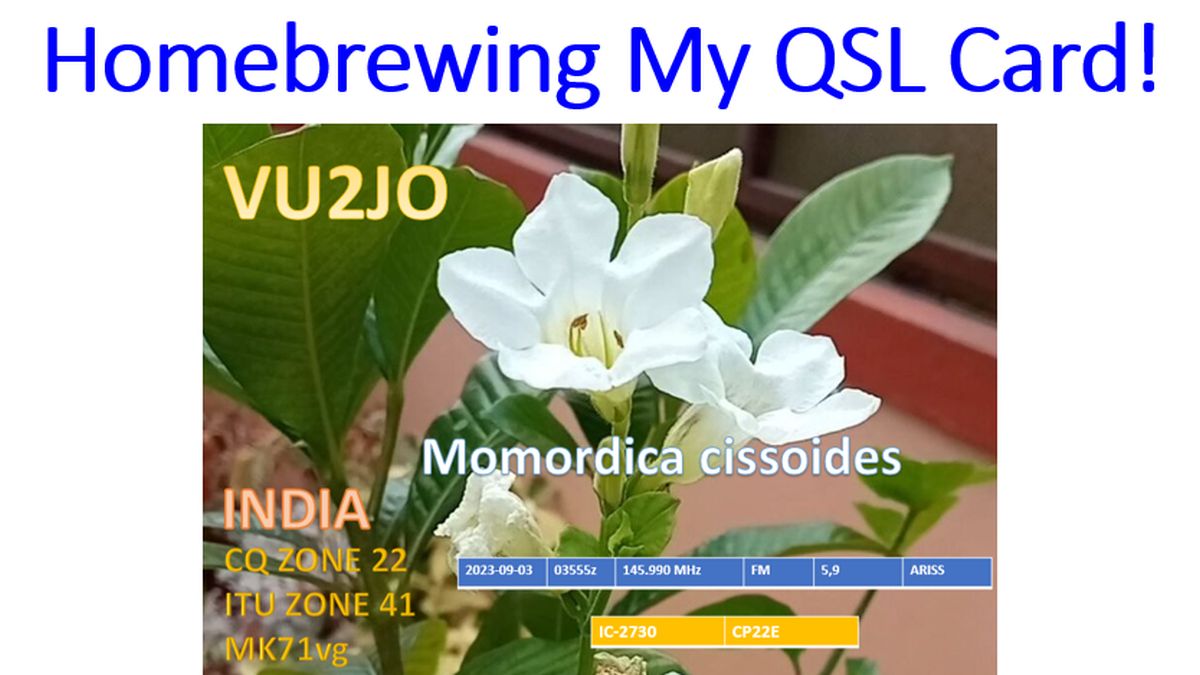
When I returned to Amateur Radio after a break of almost a decade, my old bundle of QSL cards are no longer traceable. Moreover hams had switched to eQSL and confirmation on LoTW (Log Book of The World). As I had only a VHF/UHF radio in my second innings on Ham Radio, I thought that LoTW would be enough and there is no need to print a QSL card. It was then that I received a couple of nice QSL cards with an SASE for a contact on LEO satellites ARISS and TEVEL. When you receive a physical QSL card, that too with SASE, courtesy demands that we should return a physical card. Hence I decided to homebrew one!

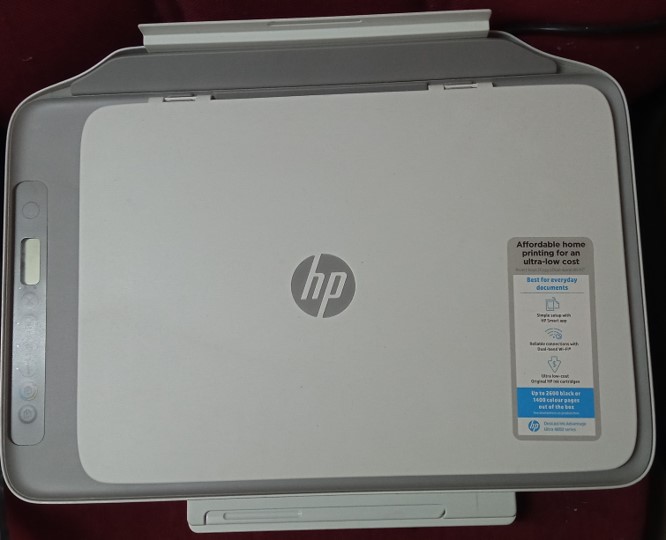
I already had this Wi Fi HP printer at home. I could easily print from my computer to the printer kept in a common room for the benefit of all other users at home. But the process was not as simple as I thought initially.

Bought 20 sheets of Kodak High Gloss Photo paper online, thinking that I could print on both sides, with a nice picture on one side and tabular column on reverse side for the QSO details.
But when I received the paper and opened the cover, I found that only one side was glossy and the other side had plenty of printing and was unsuitable for printing on the reverse side.
Next step was to design the QSL card. Initially I activated the ruler on the A4 size page from the views, but it was not good enough to position images so as to print multiple cards on one sheet.
Tried placing four text boxes as placeholders on the page. Still I could not place images properly in the place holders.
Finally I opted for powerpoint and placed an image each on a slide and printed a handout with four slides on one page in landscape format. But the size was smaller than I had planned.
In order to conserve printer ink, I printed out another handout with two slides having just place holders in a landscape format. That did not make any difference.
Then I opted to print two slides as a handout from powerpoint in portrait format. This time it was exactly the size of a standard SASE!
Next I selected beautiful images from my horticulture website and made two slides along with the details of the QSO, CQ Zone, ITU region and my callsign. Printed it on the glossy side of the photo paper. Cut the QSL cards with a pair of scissors and they were nearly as perfect as a commercially made one. On the reverse side, as I could not print, I decided to write a personal message and sign, before posting it.