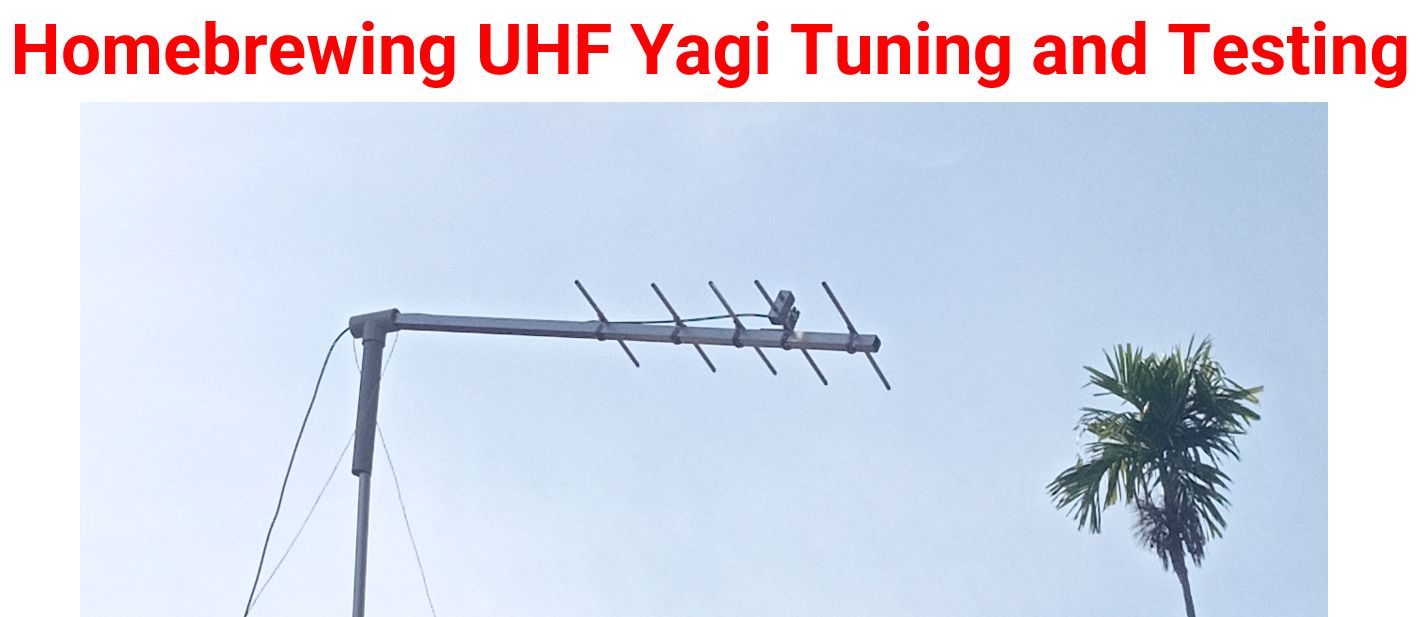
Homebrewing UHF Yagi Part 3: Tuning and Testing
Homebrewing UHF Yagi Part 3: Tuning and Testing
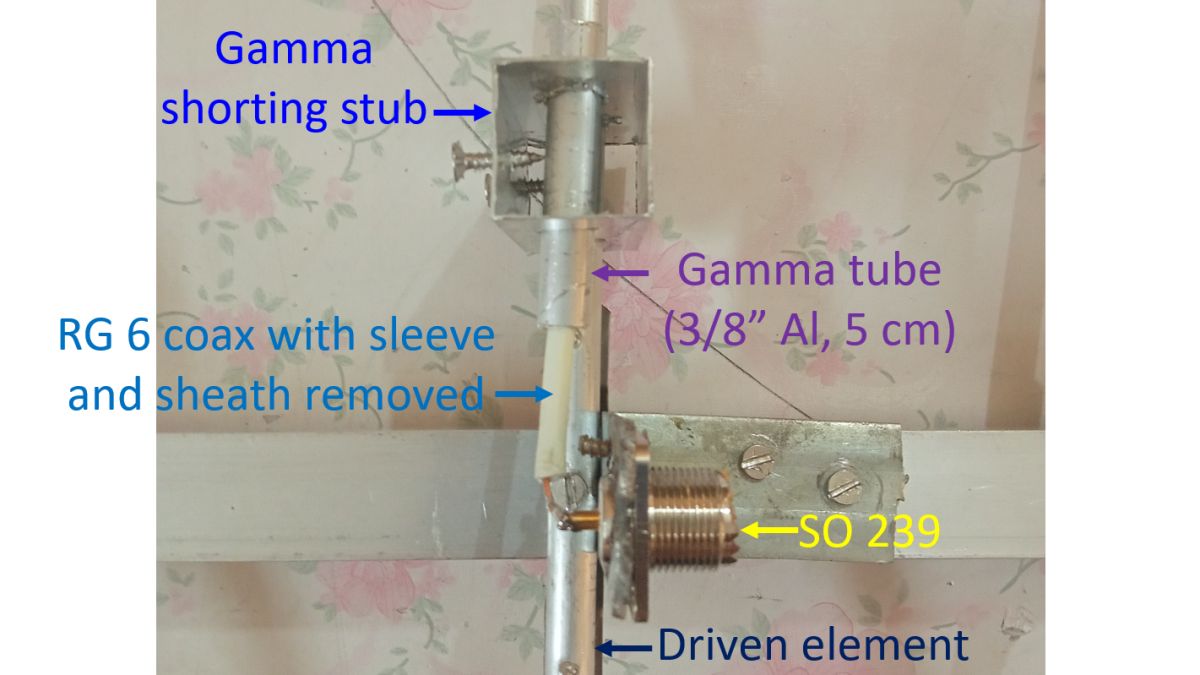
I had already finished fixing the elements on the boom, connecting the antenna cable and what remained was tuning and testing. Little bit of work was there on the Gamma match section which was kept for the time of tuning and testing.
Here is the close up view of the Gamma match. The sheath and sleeve of the RG 6 coax piece was removed. The soldered joint at the central pin of SO 239 had broken off in between. An old 100 Watt soldering iron was found from the junk store, refurbished and used to resolder the joint. Earlier a new 25 Watt soldering iron was used, which took a long time to solder the joint and the joint was not firm. Screws in the centre of the elements were tightened and continuity with boom checked. Feedline cable was attached and continuity checked and found satisfactory. Lack of continuity between the central pin and outer part of SO 239 was also confirmed using a digital multimeter. Elements were all made parallel to each other. Now the newly homebrewed UHF Yagi was ready to be put up and tuned.
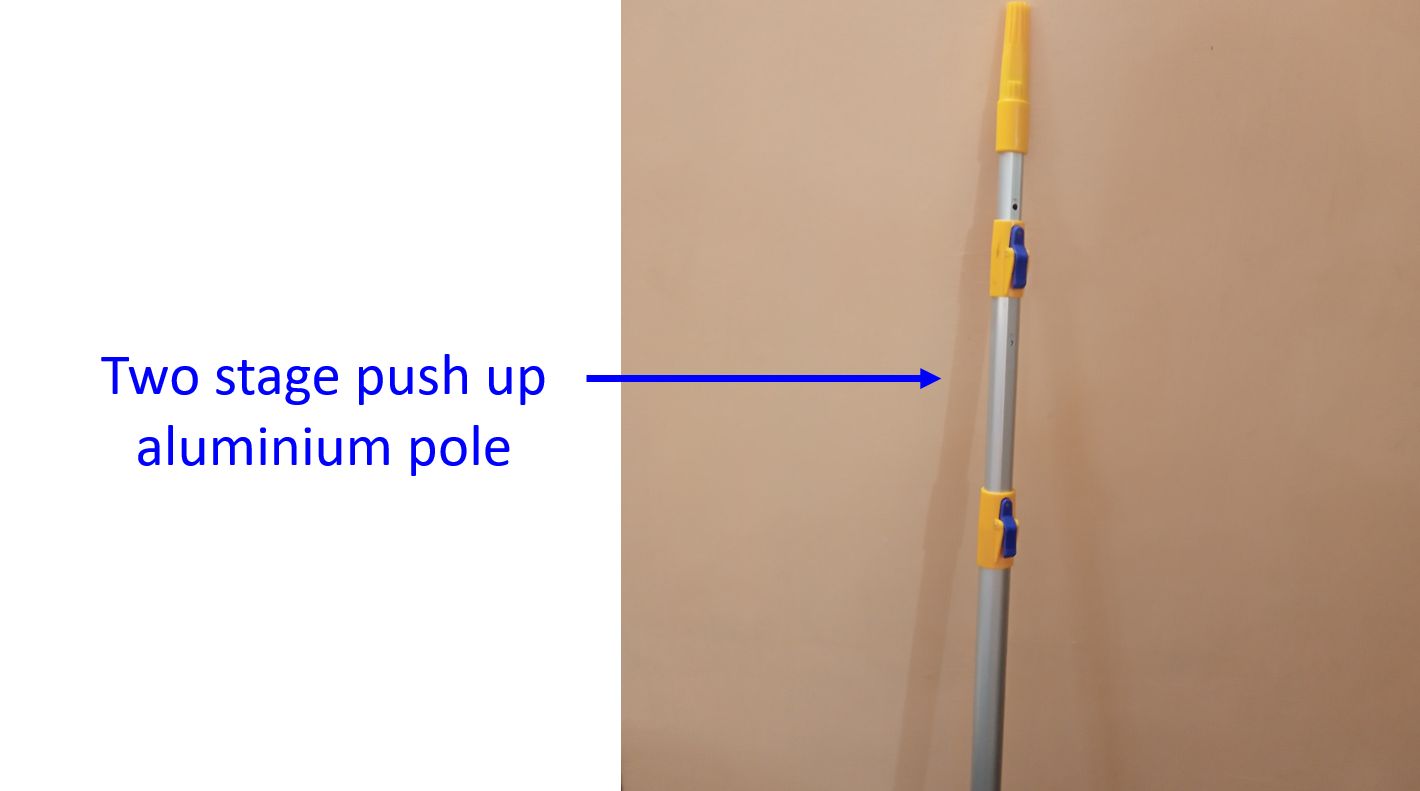
PVC pipe with T joint was introduced over the free end of the boom after threading the coaxial cable through it. PVC pipe was then inserted over a two stage push up aluminium pipe used for painting higher up in the wall. Initially the antenna was placed at a height of about 7 feet from the first floor terrace for Gamma match tuning. Two step tuning was attempted, at multiple UHF frequencies used for amateur radio satellite reception. Unfortunately, the SWR was seen around 2.5:1 for all ranges.